The Strategic Decision: Build vs. Buy Your FPV Drone
The world of FPV drones offers an unparalleled, immersive flying experience, pulling pilots directly into the cockpit for thrilling aerial maneuvers that capture the imagination. As the popularity of these “first-person view” machines soars, a pivotal question arises for every aspiring pilot entering this dynamic hobby: should you dive into the intricate process to build FPV drone from scratch, or opt for the immediate gratification of a pre-built FPV drone?
This isn’t just a technical query; it’s a strategic investment decision. Our guide cuts through the noise, approaching the DIY vs pre-built FPV debate with a distinct finance mindset. We’ll explore not just the initial sticker price, but the long-term costs, the investment potential of your time and effort in skill acquisition, and the true financial implications of each path. Understanding this strategic investment upfront is crucial, as the “cost” extends far beyond the initial transaction and impacts your entire journey into FPV.
Deconstructing the “Cost”: Beyond the Initial Purchase Price
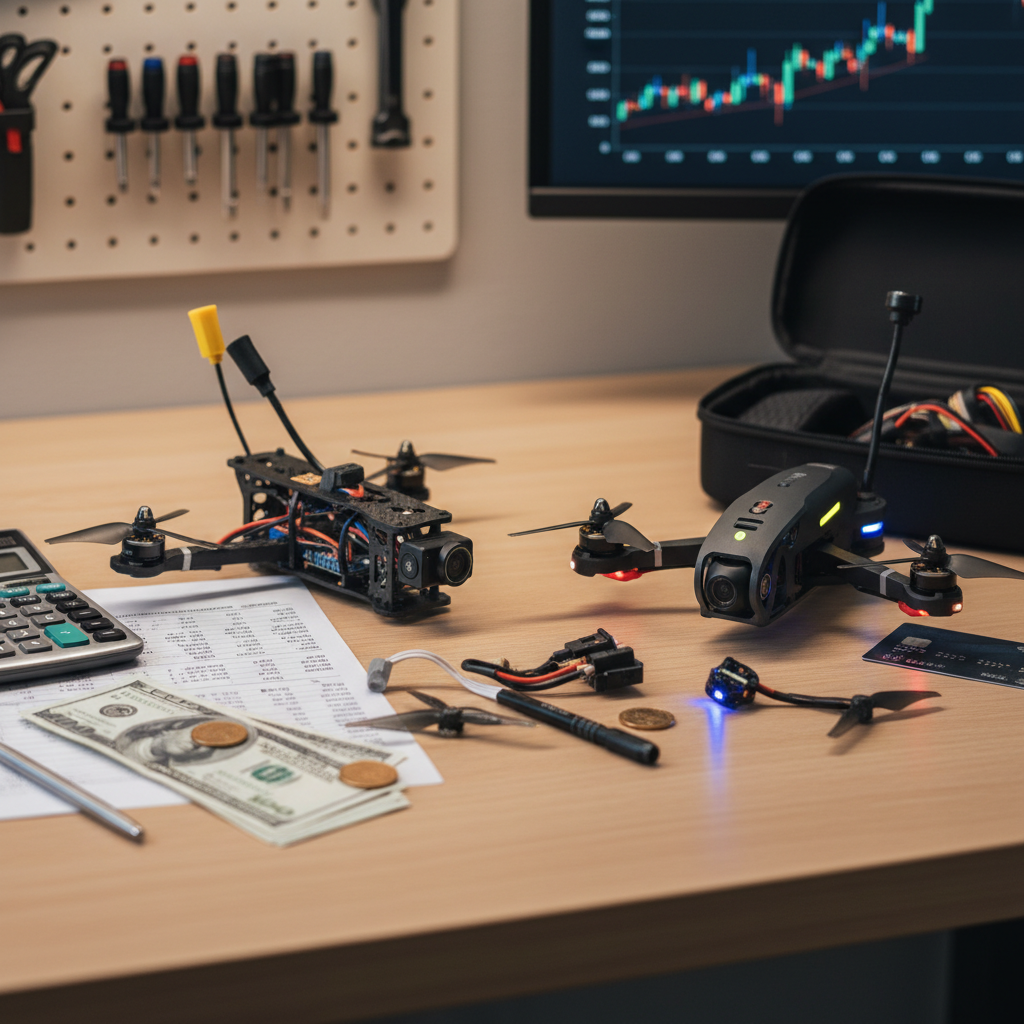
To truly understand the investment, we must look beyond the initial price tag. Building an FPV drone from scratch often involves a modular acquisition of components: a frame, motors, electronic speed controllers (ESCs), a flight controller, camera, video transmitter (VTX), and receiver. Each piece contributes to the overall DIY FPV build cost, offering granular control over quality and specifications. For those exploring the most economical routes, resources like Oscar Liang’s guide on building the cheapest FPV drone can be invaluable in navigating component choices.
In stark contrast, a pre-built FPV drone kit comes with a single, often higher, pre-built FPV price that bundles all these elements, providing immediate flight capability. While seemingly straightforward, the real divergence in FPV drone costs becomes apparent when we consider the long-term costs FPV. Repairs and replacements are an inevitable part of FPV piloting. DIY builders often benefit from the modularity, finding generic, readily available parts that can be swapped out individually and often at lower prices. Pre-built drones, especially those from major brands, can sometimes feature proprietary components, leading to higher replacement costs or the need to purchase entire sub-assemblies if a single part fails.
Beyond crash repairs, upgrades are another financial consideration. A custom build allows for seamless component upgrades, incrementally improving performance or durability. Pre-builts might offer less flexibility, potentially requiring more significant investment to achieve desired enhancements. Furthermore, the essential accessories—batteries, chargers, goggles, and radio controllers—are substantial additions to the total cost of ownership FPV regardless of your path. Analyzing these factors reveals where the true financial efficiency lies over time. However, this financial equation doesn’t capture the full picture, as there’s also an invaluable return on investment found in the knowledge and skills gained from the building process itself.
The Intrinsic Value of Skill Acquisition: A Non-Monetary Return on Investment
While a keen eye on financial efficiency is crucial for any investment, the true value proposition of opting to build an FPV drone extends far beyond mere monetary savings. The often-overlooked, yet profoundly impactful, return on investment comes in the form of substantial FPV skill development. As you meticulously assemble components, solder connections, and configure flight controllers, you gain an unparalleled drone technology understanding. This hands-on process demystifies the intricate mechanics, electronics, and software architecture that power these sophisticated machines.
More than just assembly, the journey of building cultivates essential troubleshooting and repair capabilities. When a new build inevitably encounters a glitch, the process of diagnosing the issue—be it a loose wire, a misconfigured setting, or a software conflict—hones invaluable troubleshooting FPV skills. This empowers you not only to fix your own drone but also to understand how to adapt it, offering unmatched customization capabilities and the confidence to embrace new technologies as they emerge.
The profound satisfaction and confidence gained from bringing a complex piece of technology to life from individual parts cannot be overstated; it’s a tangible non-monetary ROI that enriches your technical acumen. Moreover, these build FPV drone benefits are not just for personal enjoyment. They lay a robust foundation for potential career growth drone opportunities. From becoming a sought-after drone repair technician to leveraging your expertise in drone photography, surveying, or inspections, the skills acquired can be incredibly marketable. If you’re considering turning your passion into profit, understanding the mechanics is a huge advantage, as detailed in guides on how to start a drone business.
Armed with this perspective on the invaluable skills a DIY build imparts, it’s time to delve into the practicalities. Let’s explore the essential components you’ll need to kickstart your own FPV build, and how to invest smartly in each.
Essential Components for Your DIY FPV Build: Where to Invest Smartly
Armed with the understanding that building your own FPV drone is a valuable investment in skill and potential, it’s time to dive into the tangible — the actual components. Crafting your perfect FPV parts list requires a smart approach, balancing performance, durability, and your ultimate budget FPV build goals. Here’s a breakdown of the core FPV drone components and where to allocate your resources wisely.
First up is the Frame. Often made from carbon fiber, the frame is the chassis of your drone. You’ll need to balance durability against weight; a robust frame can withstand crashes, but a lighter one offers more agility. For a beginner, investing in a sturdy, mid-range frame is wise, as it will likely endure more learning mishaps.
Next, the Motors and ESCs (Electronic Speed Controllers) provide the thrust. These need to be compatible with each other and sized appropriately for your chosen frame. Don’t skimp entirely here; reliable motors offer efficiency and power, directly impacting flight performance.
The Flight Controller (FC) is the ‘brain’ of your drone. Running software like Betaflight, it processes your inputs and stabilizes the drone. A quality FC is non-negotiable for a smooth, responsive flying experience, so invest in one with good reviews and ample processing power.
For the immersive experience, you’ll need an FPV Camera and Video Transmitter (VTX). The camera captures the feed, while the VTX sends it to your goggles. Prioritize low latency for responsive control and decent image quality for an enjoyable view. The FPV camera and VTX are where you feel the cost-benefit most keenly.
Your Receiver (RX) acts as the communication link between your drone and your Radio Controller. Ensuring compatibility between your RX and radio controller is crucial – this is literally how you command your drone. Your radio controller itself is a significant investment; a comfortable, reliable one can last through many drone builds.
Finally, you’ll need Batteries and a Charger. LiPo batteries are the standard, but understanding cell count, capacity, and discharge rates is key. Safety is paramount when charging and handling these, so invest in a quality smart charger. For a deeper dive into LiPo safety and selection, this video on battery basics is an excellent primer. And of course, the Goggles or Display are essential for viewing your FPV feed, offering varying levels of immersion, resolution, and field of view based on your budget.
Thoughtful selection of these parts is the first major step. Once you’ve meticulously gathered your FPV drone components and finalized your FPV parts list, the exciting phase of bringing your vision to life through assembly awaits.
Step-by-Step Assembly: Bringing Your FPV Vision to Life
With your meticulously selected components in hand, the real hands-on investment begins: FPV drone assembly. This isn’t just about bolting parts together; it’s a methodical process where precision and patience pay dividends in reliability and performance. Before you start, gather your essential tools: a quality soldering iron with fine tips, a reliable multimeter for continuity checks, and a set of hex drivers will be your best friends. These tools are non-negotiable for a clean beginner FPV build.
Your build FPV drone steps will typically start with mounting the motors to the frame, ensuring the correct rotation direction. Next, attach your Electronic Speed Controllers (ESCs), usually to the arms or main plate, ready for power and signal connections. The flight controller (FC) then takes center stage. This is where the intricate wiring FPV drone comes in: carefully connect power distribution from your ESCs (or a dedicated power distribution board if you’re using one) to the FC, followed by the individual signal wires from each ESC. Precision here is paramount to avoid shorts or incorrect power delivery.
Integrating your FPV camera and Video Transmitter (VTX) follows, connecting them to the FC for power and, in many cases, for control and OSD (On-Screen Display) data. Finally, your radio receiver will link to a designated serial port on the flight controller, establishing communication with your remote control. Throughout this FPV drone construction, emphasize clean soldering FPV joints. Proper wire length, heat shrink, and zip ties will not only make your drone look professional but, more importantly, prevent vibration damage and short circuits. Always use your multimeter to check for continuity and shorts before connecting your battery for the first time. For a fantastic visual walkthrough of these crucial wiring and soldering techniques, this detailed FPV drone build guide is an invaluable resource.
Once every wire is securely soldered, insulated, and neatly tucked away, you’ve completed the physical manifestation of your vision. But the journey isn’t over; the next critical phase involves bringing your drone to life through software configuration and meticulous safety checks.
Configuration & First Flight: Software, Safety, and Simulator Practice
With your FPV drone physically assembled, the next critical step is breathing digital life into it through meticulous software configuration. This phase is less about soldering and more about thoughtful setup, a vital investment in preventing future headaches and costly repairs. You’ll begin with the Betaflight setup, a robust, open-source firmware that acts as your drone’s brain. This involves flashing the firmware, configuring crucial settings like PID loops and rates, calibrating your ESCs (Electronic Speed Controllers) for optimal motor performance, and ensuring motor directions are correct. Finally, you’ll bind your radio controller to the drone’s receiver, establishing that vital communication link. For a comprehensive walkthrough of these software steps, including initial FPV drone configuration, this detailed Betaflight setup guide is an invaluable resource.
Before even thinking about a maiden flight FPV, meticulous pre-flight checks are non-negotiable. Verify all connections, propeller orientation, and component functionality. Crucially, don’t underestimate the power of a good drone simulator. Investing dedicated time in virtual flight practice is perhaps the best FPV safety measure you can take, saving you potentially hundreds, even thousands, in crash-related repairs when learning to fly a real FPV drone.
When you’re finally ready for that exhilarating maiden flight FPV, choose an open, clear location away from people and obstacles. Understanding and adhering to FAA regulations FPV for recreational drones is paramount, not just for legal compliance but for public safety and the longevity of your hobby. Remember, responsible piloting protects your investment and the community. Mastering these initial flights is just the beginning. As you gain confidence, you’ll naturally start looking at ways to enhance your drone’s capabilities, leading us to consider future upgrade paths and longevity for maximizing your FPV investment.
Upgrade Paths and Longevity: Maximizing Your FPV Investment
As your piloting skills evolve and the exhilarating world of FPV racing or freestyle introduces new technologies, your DIY FPV drone won’t be left in the dust. This is where the true financial genius of building your own truly shines. Unlike many pre-built drones with proprietary components, a modular FPV build offers unparalleled flexibility for FPV drone upgrades. You’re not locked into an entire system; instead, you can swap out individual parts – perhaps a new camera for crisper video, more powerful motors for enhanced performance, or an updated flight controller to leverage the latest software features.
This ability to upgrade specific components translates directly into cost-effective upgrades. Rather than shelling out hundreds or even thousands for an entirely new pre-built drone every time a significant technological leap occurs, you can often achieve a substantial performance boost by replacing just one or two relatively inexpensive parts. This is a game-changer for your long-term FPV investment, effectively helping you future-proof drone setup against rapid obsolescence. Furthermore, this modularity significantly enhances FPV drone longevity and repairability. If one component fails, you simply replace that part, keeping your drone in the air without needing to scrap the entire unit. Reputable suppliers like GetFPV make finding these individual components straightforward.
This flexible approach stands in stark contrast to many pre-built designs, where integrated systems or proprietary parts often make upgrades impractical or prohibitively expensive, forcing you into a costly complete replacement cycle. Understanding this inherent upgrade potential is crucial as we move on to fully evaluate the financial bottom line and discover when DIY FPV truly makes sense for your wallet.
The Financial Bottom Line: When DIY FPV Truly Makes Sense
Having delved into the minutiae of components, upgrades, and longevity, it’s time to consolidate our understanding of the true financial implications. When we conduct a comprehensive FPV drone financial analysis, building your own system emerges as the clear winner for long-term value, offering significantly lower total cost of ownership FPV compared to its pre-built counterparts. This finance-savvy FPV approach hinges on cheaper repairs, thanks to readily replaceable parts, and the ability to tailor performance precisely to your needs, avoiding overspending on unnecessary features.
Beyond the immediate savings and robust upgrade paths, the investment return FPV isn’t solely monetary. The invaluable skills acquired – from soldering to tuning – are a non-monetary asset that empowers you, fostering a deeper understanding of technology and problem-solving. Of course, this robust financial case comes with its own upfront ‘cost’: a significant time investment and a steeper learning curve. This is the trade-off for autonomy and long-term savings.
So, when does DIY FPV truly make sense, even for a beginner FPV choice? It shines brightest for those operating under budget constraints, seeking unparalleled customization, committed to the hobby as a long-term endeavor, or even exploring drone technology careers. A DIY vs pre-built costs comparison invariably shows that the initial effort pays dividends. Conversely, only individuals facing extreme time pressures or possessing virtually no interest in the technical aspects might find a pre-built drone more appealing, though they undoubtedly miss out on the considerable financial and skill-based upside of building their own FPV drone.
Senior technology analyst covering enterprise software, AI, and digital transformation. James has spent over a decade helping business leaders understand how emerging tech reshapes competitive strategy.